Learning how to grow marijuana at home in 60 days may appear challenging, particularly for newcomers to cultivation. With the right guidance, however, success is achievable. This guide offers practical tips and insights, ensuring you can successfully harvest your first crop, whether you are just starting out or are already an enthusiast aiming to refine your skills.
Choosing the Right Strain for a Quick Harvest
When planning to grow marijuana at home in 60 days, selecting the appropriate strain is important. Autoflowering strains are perfect for gardeners needing quick results, as they transition from the vegetative stage to flowering automatically. Popular choices include Northern Lights Auto, Amnesia Haze Auto, and Fast Buds’ Gorilla Glue Auto. These strains typically complete their lifecycle in about eight weeks, fitting perfectly within your 60-day timeline.
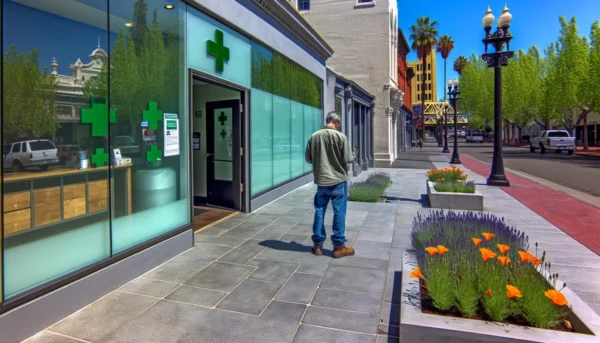
Legal Considerations for Home Growing
Understanding the legal implications of growing marijuana at home in your area is essential. In the United States, laws vary greatly by state. For instance, recreational cultivation is permitted in California, Oregon, and Colorado, subject to plant count limits. Conversely, home growing remains illegal in states like Texas. Research your local laws to ensure compliance and avoid legal issues.
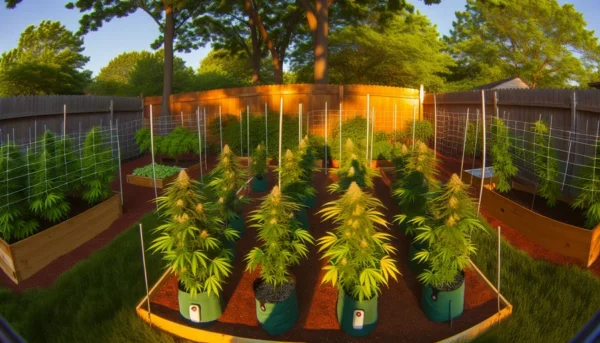
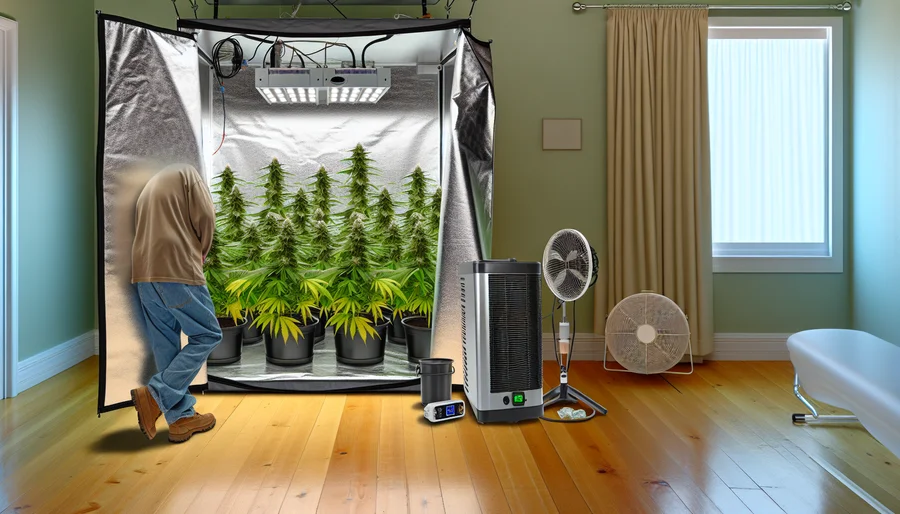
Setting Up Your Home Grow Space
Creating an optimal environment is crucial for a successful harvest. For growing marijuana at home in 60 days, consider a grow tent or a closet space equipped with essentials such as grow lights, ventilation, and reflective materials. LED lights are recommended for their efficiency. Ensure proper airflow with fans, and maintain a daytime temperature of 70-85°F (21-29°C), with cooler nights for best results.
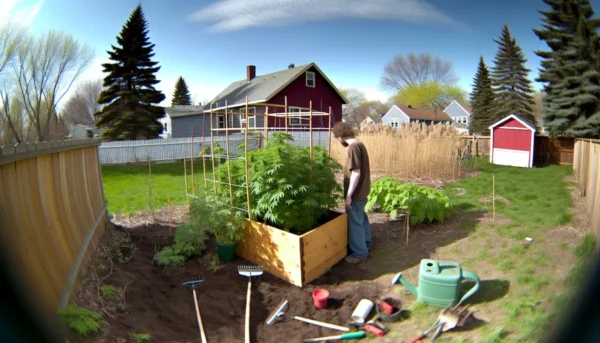
Germination and Vegetative Stage
Properly starting your seeds is vital for a bountiful harvest. Begin by soaking seeds in water for 24 hours, then plant them in a quality soil mix. Seedlings should appear in a few days. During the vegetative stage (about 3-4 weeks in this timeline), provide 18-20 hours of light daily. Keep the soil moist and feed with a nitrogen-rich fertilizer to promote healthy growth.
Transitioning to Flowering
After three to four weeks, autoflower strains naturally transition to the flowering stage. For photoperiod strains, adjust the light cycle to 12 hours of light and 12 hours of darkness. Use a fertilizer rich in phosphorus and potassium to aid bud development. Check for pests or diseases regularly, and keep humidity around 40-50% to avoid mold. Adjust care routines as needed to ensure plant health.
Harvesting Your Cannabis Plants
Harvesting at the right time maximizes both potency and flavor. As you near the 60-day mark, examine the trichomes on your buds with a magnifying glass. Ideal trichomes are milky white with some amber hues, indicating peak THC levels. Once ready, cut plants at the base and begin the drying process by hanging them upside down in a dark, well-ventilated space. Aim for a temperature of 60-70°F (15-21°C) and a humidity level of 45-50% for best results during drying.
Enjoy Your Harvest Responsibly
After 10-14 days of drying, your buds will be ready for curing, which enhances flavor and smoothness while extending shelf life. Place buds in airtight jars and store them in a cool, dark place, burping the jars daily for the first two weeks to release moisture. Use your homegrown cannabis responsibly, adhering to local consumption regulations. Whether you choose to vape, smoke, or make edibles, enjoy the outcome of your efforts and consider trying different strains for future projects.